Threaded Quilting Studio

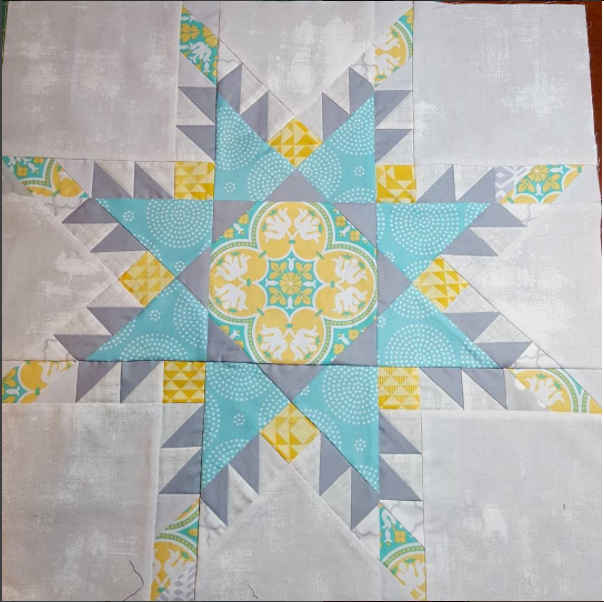
feathered star quilt

Snowflake QAL: Week Ten

Jessie Zeigler1 Comment
Kelly Levant's quilt pictured here (her photo) called Summer Stars was recently accepted into Quilt Canada 2018! Congratulations, Kelly!

Kelly Levant's quilt pictured here (her photo) called Summer Stars was recently accepted into Quilt Canada 2018! Congratulations, Kelly!

WEEK TEN!

Inspiration time! Kelly participated in the first Feathered Star QAL this summer. Just this week it was accepted into a juried show–her first! Well deserved, Kelly! We will be rooting for you this May!

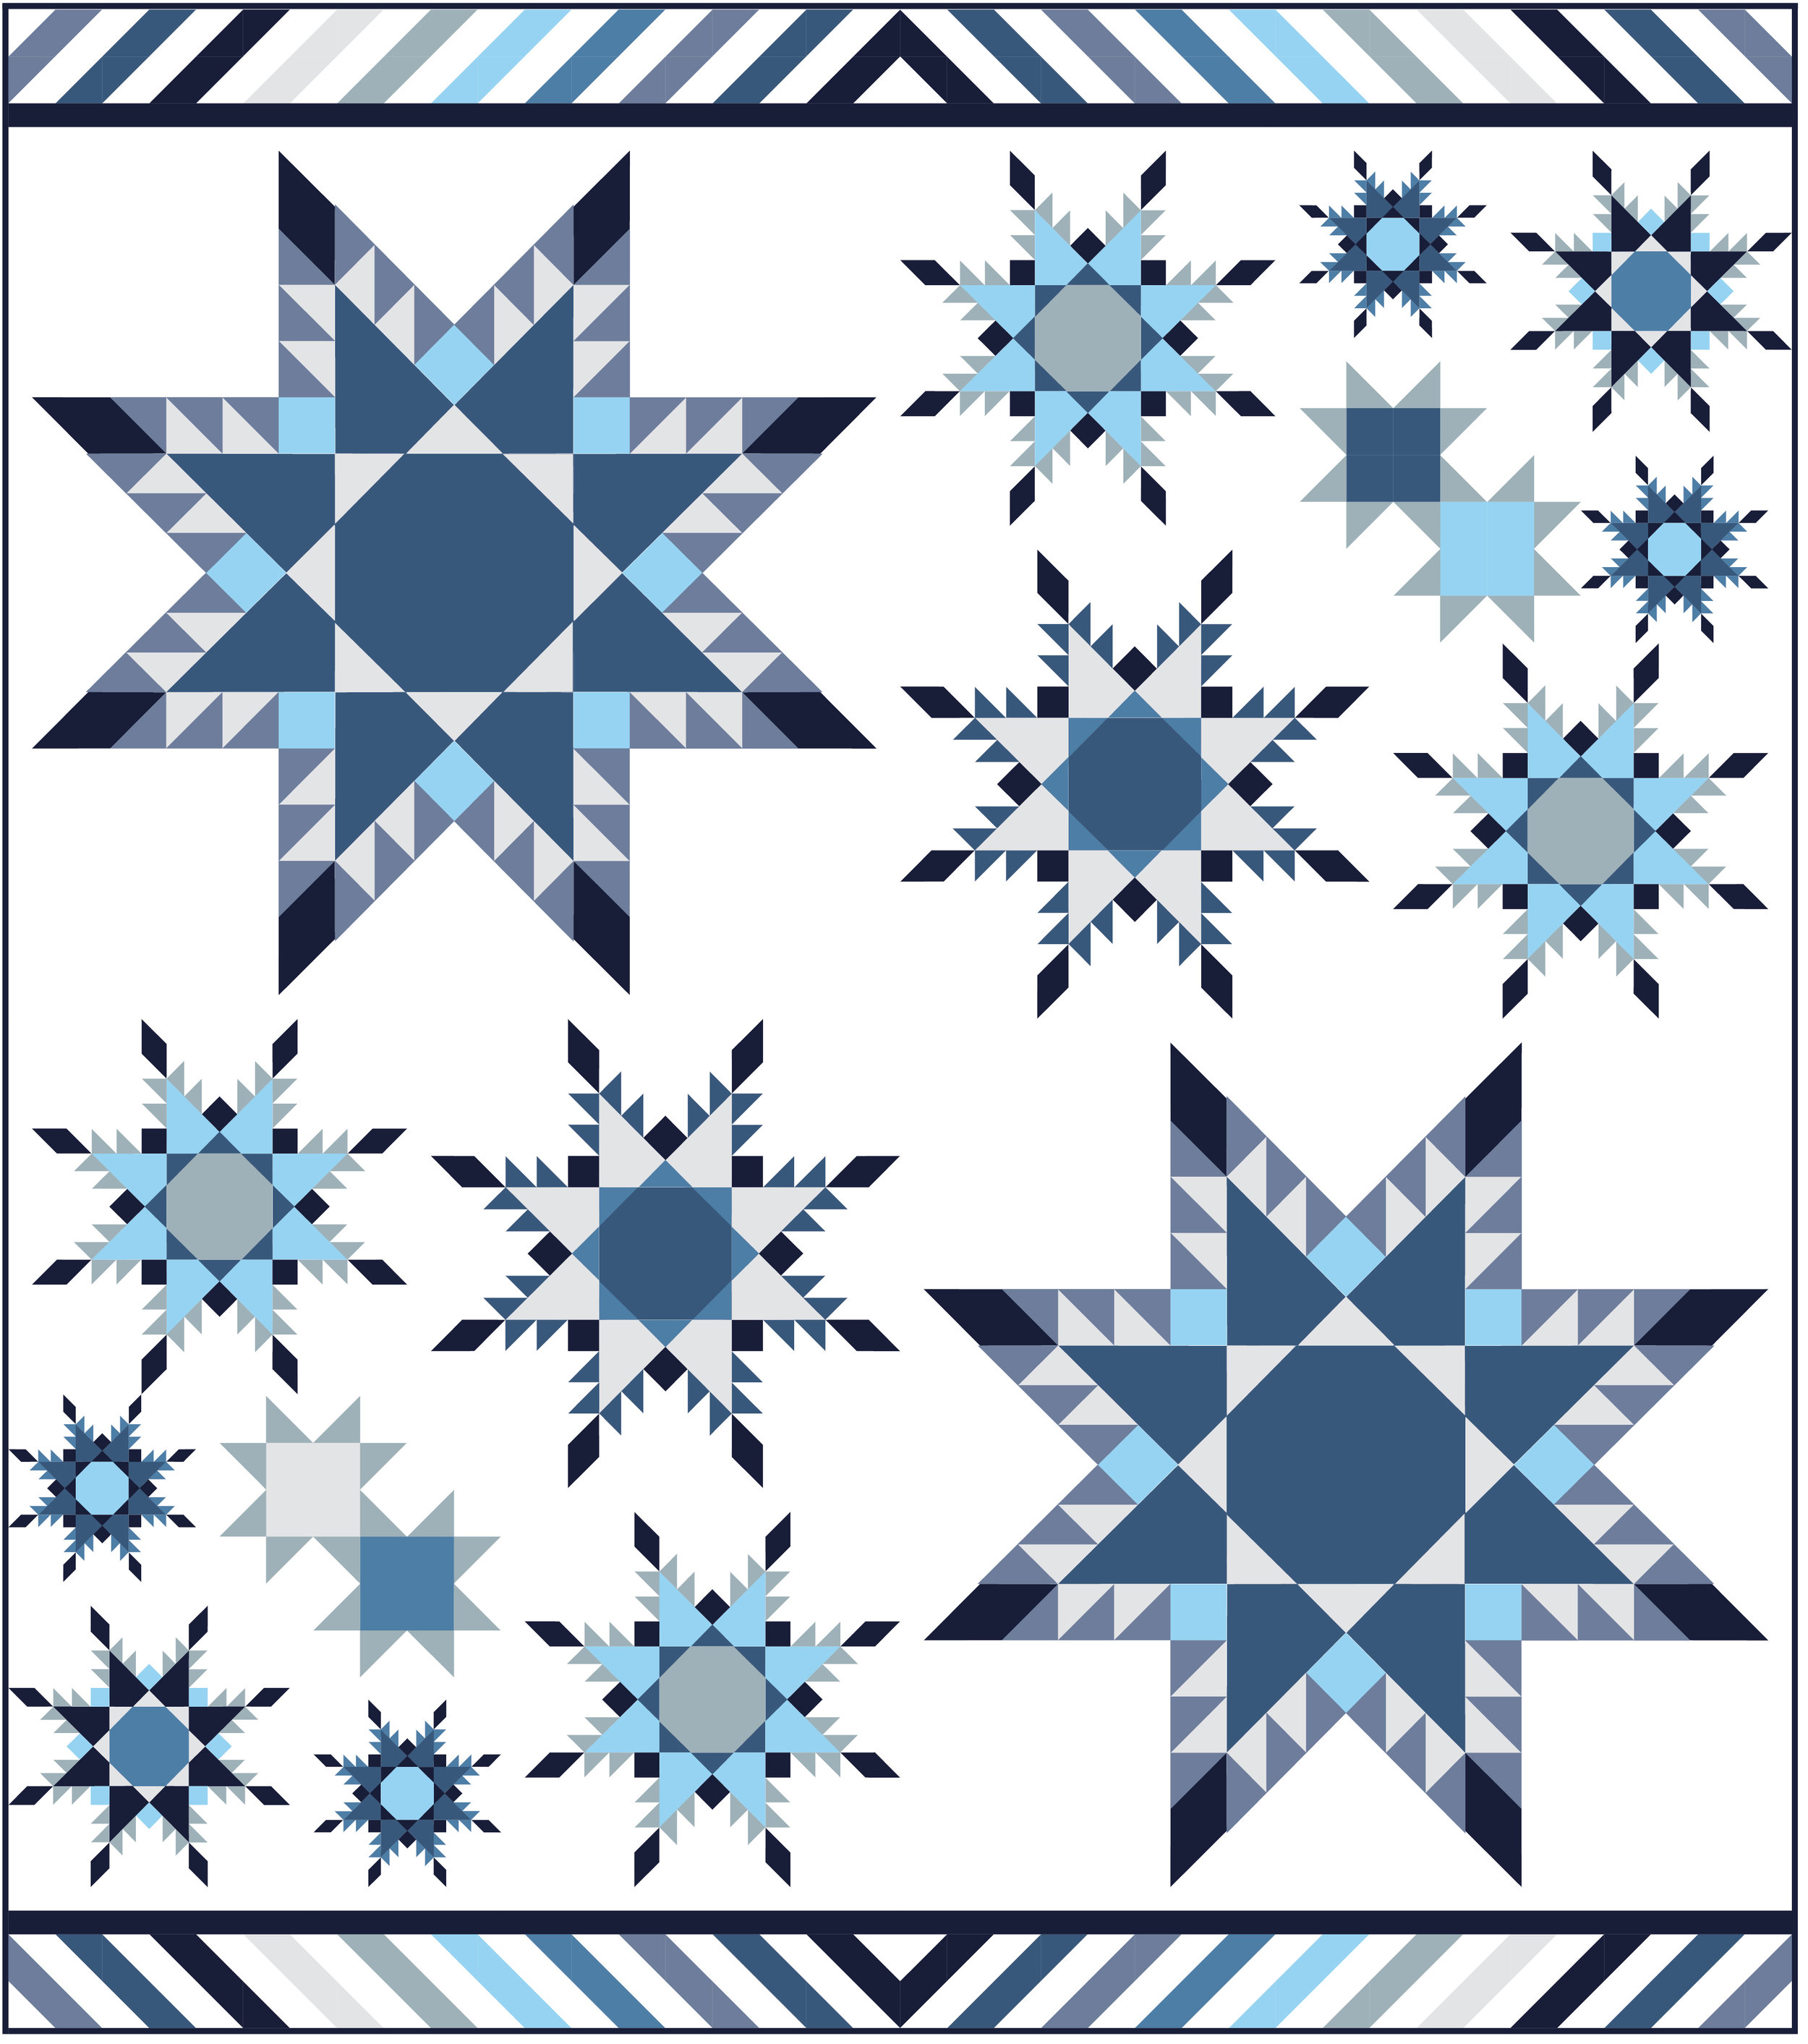
Snowflake Sampler: assemble quilt top, p.62

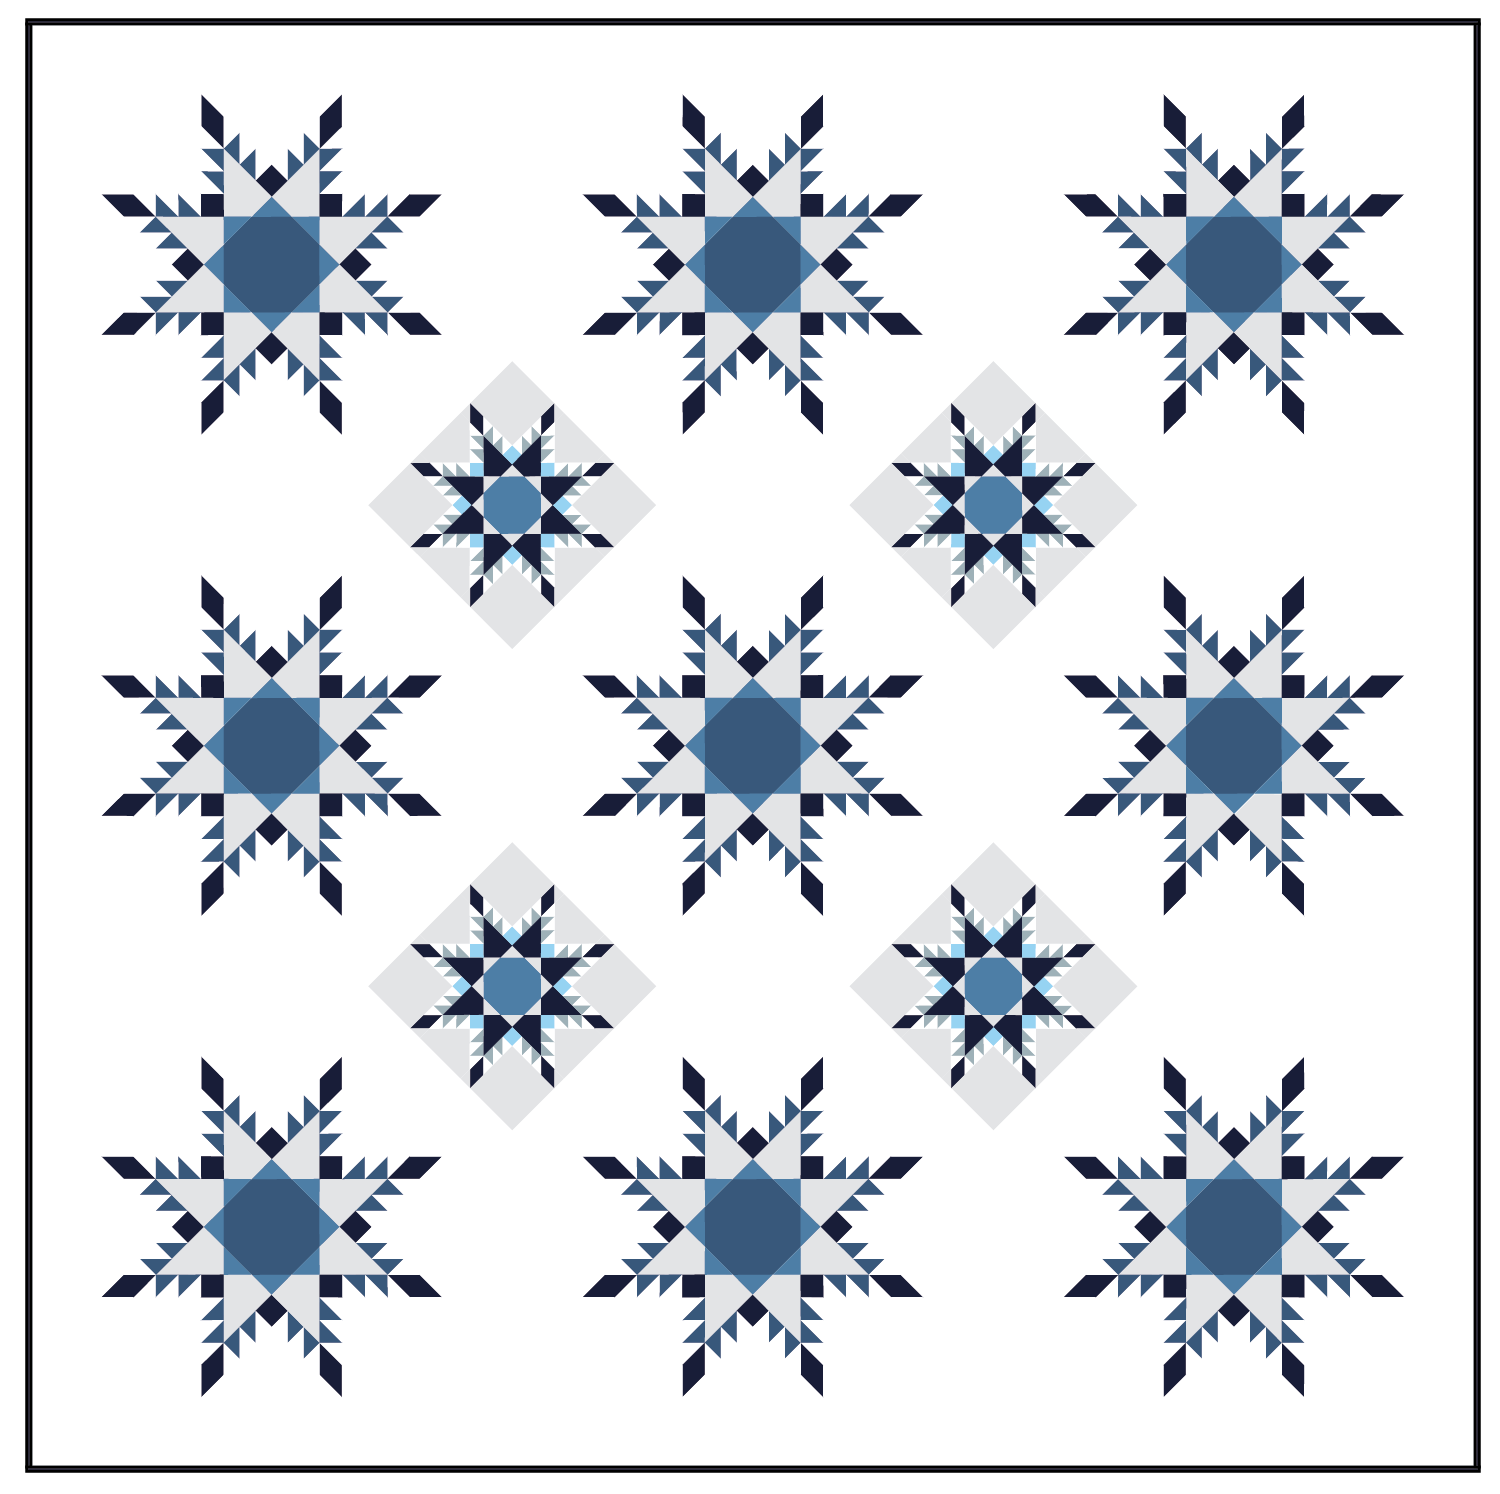
Star Flurries: assemble quilt top, p. 39

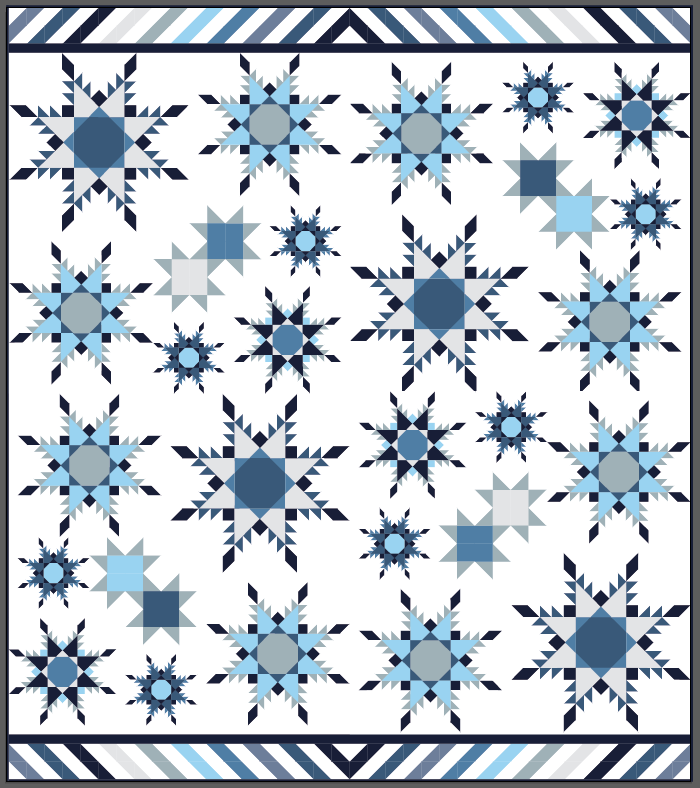
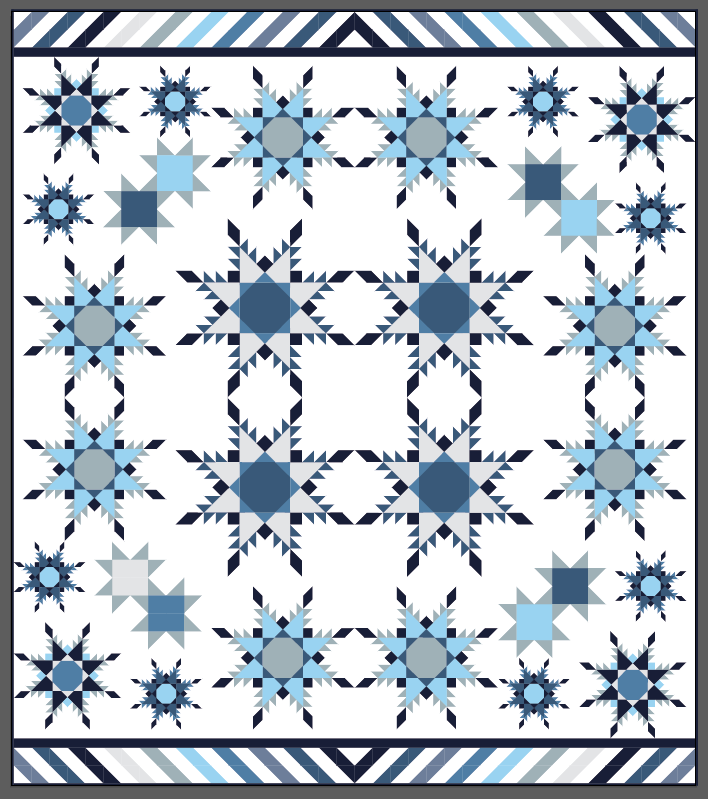
Feathered Star Blizzard: assemble quilt top, p. 44

If you haven't removed your papers, I would highly suggest you do that before you sew any applicable sashing strips to your blocks before assembly. I think it is soooooo much easier to pick out papers block by block instead of having a whole lap of work to get through.

Refer to the pages of your pattern given above and complete the rest of the pattern!

OHMYGOSH, I'M GETTING SO EXCITED TO SEE YOUR TOPS!

Nagging reminder time! To get great results, go slow, take one step at a time, check and re-check your sewing in relation to the diagrams, PIN CAREFULLY AND FREQUENTLY, sew and press with care. 

You've got this!!

Snowflake QAL: Week Nine

Jessie ZeiglerComment
Joan Cumming has been working ahead on her Blizzard quilt! Isn't it spectacular?!?! She added even more stars to make the whole top bigger. Beautiful!!

Joan Cumming has been working ahead on her Blizzard quilt! Isn't it spectacular?!?! She added even more stars to make the whole top bigger. Beautiful!!

Welcome to Week Nine of the QAL!

Snowflake Sampler: two 36" Fierce Feathered Stars

Star Flurries: one 20" No Y Seam Feathered Stars or Fierce Feathered Stars (your choice of construction method)

Feathered Star Blizzard: two 16" AND two 8" No Y Seam Feathered Stars

Can you believe there is only one week left? Time flies when you're piecing one million tiny bits of fabric together... isn't that how the saying goes? ;)

Congratulations if you are caught up! Congratulations if you're still hanging in there! Congratulations if you're waiting for the right timing to dig in! The point is, you've challenged yourself to do a difficult thing and I admire that. It's so worthwhile to push yourself and learn new skills, I salute you!

Sampler folks: I have a video tutorial series now on how to construct the Fierce Feathered Star. If you feel safe and cozy within the confines of paper piecing (no shame in that) and are nervous about tackling the non-paper piecing star, watch the videos! They'll give you the boost you need to begin.

Next week, we'll sew our tops together! If you want to get yourself prepped, make sure all of your papers are removed. You could also begin cutting out any sashing strips if you have them (Sampler and Blizzard) and sewing them to the appropriate stars. Again, not part of the challenge this week, but if you're looking for ways to get ready, those are good places to start.

I cannot tell you how satisfying this is to seam together! FUN! This was my Sampler top from the first QAL I hosted last summer.

I cannot tell you how satisfying this is to seam together! FUN! This was my Sampler top from the first QAL I hosted last summer.

Hop on over to my closed Facebook group to join the discussion, share pictures, ask questions, get encouragement. We are a community and we'd love to help you out!

Video series for the Fierce Feathered Star pattern is now available!

Jessie ZeiglerComment
brickyard shot.jpg

I love the Fierce Feathered Star block! There is no paper piecing involved, there are no y-seams to negotiate. But even so, it has intimidated some quilters. I know because they tell me. :) Haha. I'm here to remove the mystery about sewing this block. What better way than to show you every step?

The videos are all completely free, you just need the Fierce Feathered Star pattern for your own templates and cutting dimensions.

Click here for the entire video playlist.

Here's a breakdown of each individual lessons:

Part 1: intro, templates and sewing the star tips

Part 2: making HSTs the Magic 8 way

Part 3: making the corner units

Part 4: making the side units

Part 5: making the center unit and assembling the block

BONUS: Making a 60" lap quilt (shown below) using two 36" FFS blocks

IMG_4895.jpg

Before quilting...

IMG_4925.JPG

After quilting!

I hope watching the steps will you give you the confidence to tackle a project that might challenge and grow your current skill set. That, my friends, is so exciting to me! 

Happy learning! Happy quilting!

QAL FAQ

Jessie ZeiglerComment

Here we are less than one week away from beginning the next quilt-a-long! I wanted to answer a few questions that have come up. I hope this helps you! If you have any additional questions, please leave a comment or get in touch with me through email: threadedquilting at gmail dot com.

IMG_4659.JPG


1. How will the QAL work?

Each Sunday beginning December 31 (this Sunday!) and lasting for 10 weeks, I will email a new challenge out to the participants. I consider anyone who bought one of the three new patterns to be a participant. The email will have a challenge for that week. Depending on the pattern, it'll be about 2 stars per week. I will also post the challenges publicly here in the journal section of my site.

2. What if I can't keep up?

This is a fairly fast-paced QAL, participate as you're able. My goal is to provide support and fun along the way. The last thing I want is to create added stress in your life! No need to apologize for not keeping up! This is meant to expand your skills, challenge you to sew and create, provide community. There will be no guilt-tripping!! :) 

3. Are there prizes?

YES! I can't wait to feature other pattern designers as we go! Most of these designers will be known to you, but if not, I can't wait make an introduction! Since paper piecing is kind of "our thing", I focused on designers who have paper piecing patterns for giveaways!

Prize winning will be based on a mix of general participation and completing specific weekly challenges. I will rely on social media posting on Facebook and Instagram to see who is participating. Please make sure your posts are "public" so that I can see them!

4. The fabric requirements seem like a little much. What's going on?

The Star Flurries and Feathered Star Blizzard patterns can be exclusively paper pieced and because of this, more waste is involved than with conventional sewing methods. This is a reality of paper piecing. 

If you plan to use the Fierce Feathered Star method for sewing the 20" stars instead of the paper pieced versions, you can expect to use slightly less fabric. For the patterns that give you the choice, I listed the fabric requirements assuming one would paper piece the stars, just so there would be no shortage.

5. What's with all the shades of blue?

This winter QAL uses fabrics to make the feathered stars resemble snowflakes! I thought it was easier to classify the fabrics by shade (light, medium dark, etc.) but perhaps Fabric 1, Fabric 2, Fabric 3, etc. would have been easier! My apologies if you find it difficult to keep track. I'd encourage you to use the "my swatch" pages preceding each star size to help you stay organized.

6. What size of needle to you use when paper piecing?

I use Microtex Sharps either a 90/14 needle or 80/12 needle. Using the larger (90/14) needle, may help papers better perforate and tear away if that is an issue. I reach for whatever one is new and sharp and haven't had an issue with either size.

Amazon affiliate link:
7. I've paper pieced a few stars to get used to the pattern and have dulled the points of my spines. Any suggestions?

Two (or more?) things could be happening. Pressing could make a difference. I actually only use my fingers to press while I'm constructing. Sometimes it looks like the very end of my points are gone, but after I *really* get in there to crease the fabrics with my fingers, it looks better. Use the pressing method that will yield the best results. You might want to experiment with finger pressing, using a wooden iron, using a mini iron or using your regular dry iron to find the method that works best for you.

Another thing to consider is that when you're adding your last piece of fabric to a unit with spines, sew on the outside edge of the black line to give yourself a smidge more space.

8. What about a two-fabric quilt? Would that look good?

Oh heavens yes! I think two-color quilts are amazing and I think this pattern would look outstanding in two tones.  (We want a picture if you do this!)

9. Do I need to buy any additional lessons?

Nope! The pattern is thorough and complete on its own. The patterns are advanced and assume knowledge of foundation paper piecing. I will add supplemental tips to my weekly emails and to my journal entries as we progress, but there are no further costs involved.

Buy your pattern here in my shop if you haven't done so already!


Snowflake Suite of patterns NOW AVAILABLE!

Jessie ZeiglerComment
The 20" (paper pieced) No Y Seam Feathered Star pattern is new and exclusive to these patterns!

The 20" (paper pieced) No Y Seam Feathered Star pattern is new and exclusive to these patterns!

I'm so excited to roll out THREE new patterns that use feathered star blocks!

Buy your choice of pattern and join me for the next Quilt-A-Long that begins on New Year's Eve! How's that for ringing in 2018 with a new project and new challenge?!

The QAL will take place over ten weeks: nine weeks of "challenges" and one week of catch-up. :) It averages out to about two feathered star blocks per week. Unless you're piecing the Feathered Star Blizzard... with nearly double-the-stars, you might decide to take on more per week or extend your QAL experience by another few weeks. ;)

More information such as materials needed and fabric requirements can be found here.

Leave a comment below or email me at threadedquilting@gmail.com if I can answer any questions!

Feathered Star QAL: Week Nine

Jessie ZeiglerComment
Week Nine: Assembling the whole quilt top!

Week Nine: Assembling the whole quilt top!

We've come to our final week of the Feathered Star QAL!

Congratulations if you are caught up! Congratulations if you're still hanging in there! Congratulations if you're waiting for the right timing to dig in! The point is, you've challenged yourself to do a difficult thing and I admire that. It's so worthwhile to push yourself and learn new skills, I salute you!

Week Nine instructions: Use the Feathered Star QAL pattern to assemble the quilt top.

Before endeavoring to construct the top, make sure all of your papers are removed from the paper piecing stars and the appropriate sashing strips have been sewn onto the feathered stars according to the pattern. This will make assembly go smoothly!

Start on page 11 of the Feathered Star QAL pattern to begin assembling the Bonus Stars and follow the remainder of the pattern paying VERY special attention to the diagrams.

To get great results: go slow, take one step at a time, check and re-check your sewing in relation to the diagrams, PIN CAREFULLY AND FREQUENTLY, sew and press with care. 

I cannot tell you how satisfying this is to seam together! FUN!

I cannot tell you how satisfying this is to seam together! FUN!

My focus has now shifted to quilting and to be honest, I'm stumped! I'm sure something will come to me and when it does, I'd love to share ideas with you!

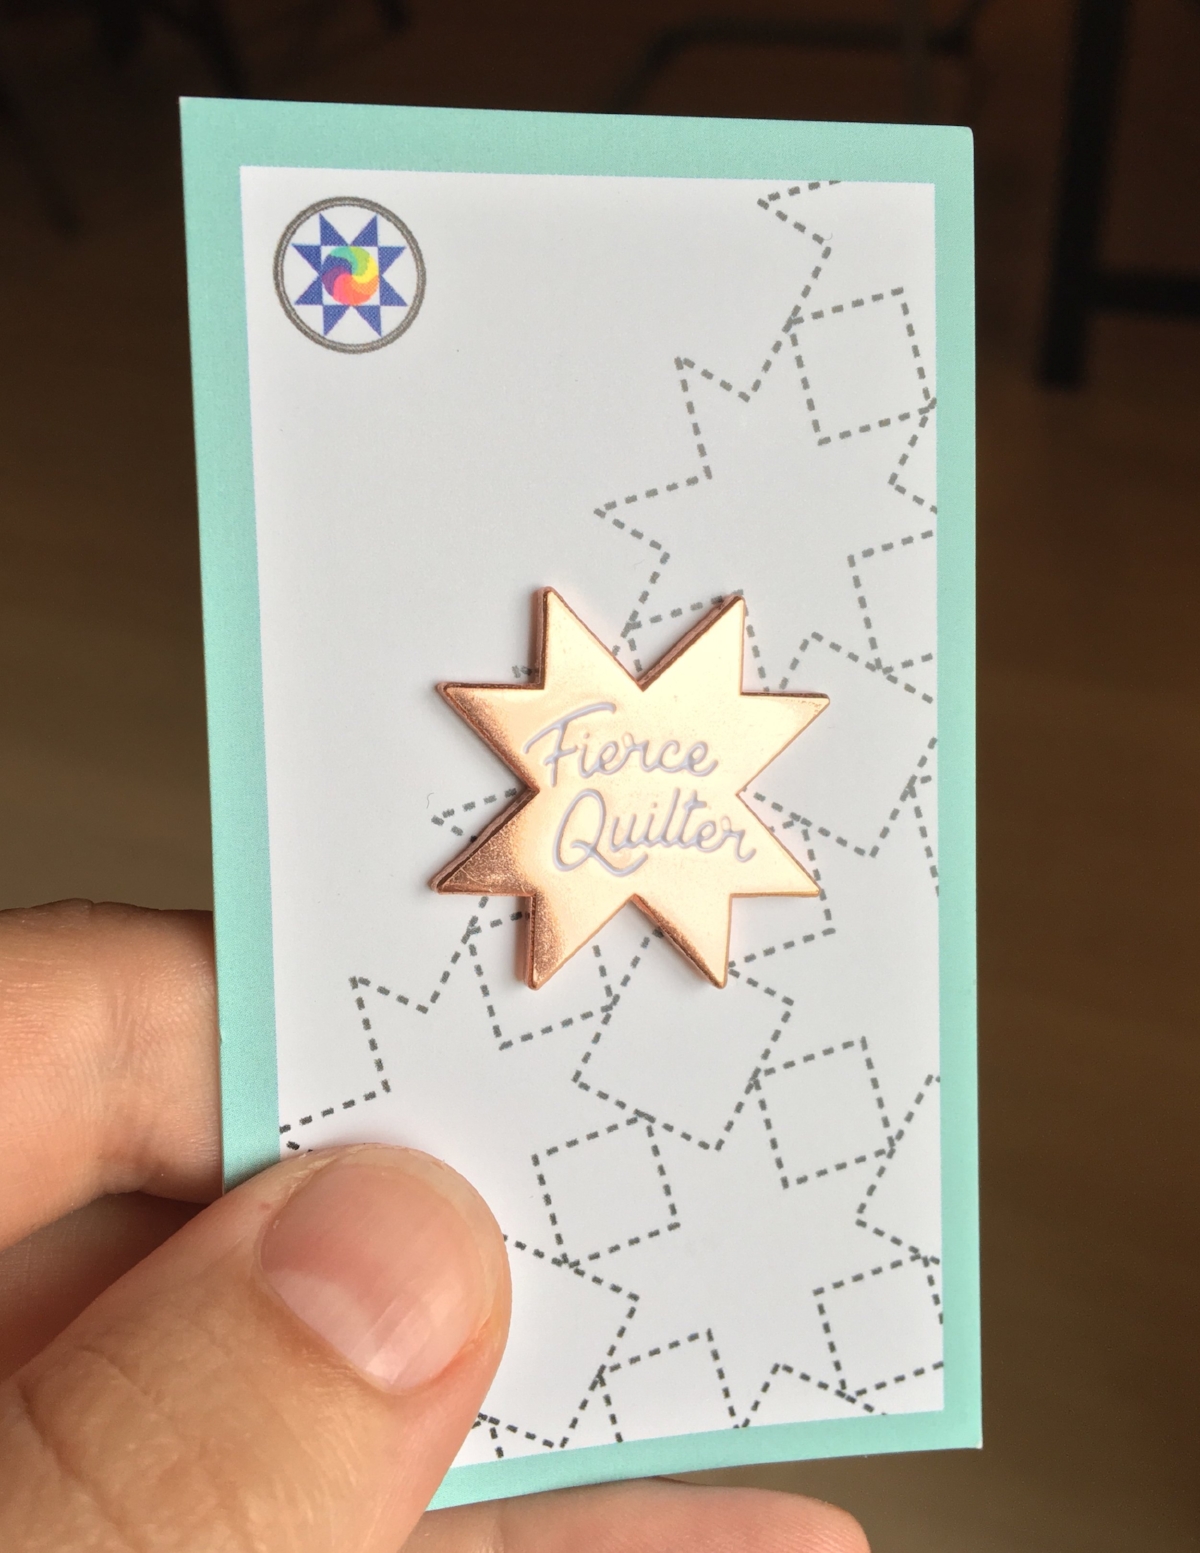
Click the photo to buy your own pin from Eye Candy Quilts! You might as well pick up a second pin for a fierce quilter friend!

Click the photo to buy your own pin from Eye Candy Quilts! You might as well pick up a second pin for a fierce quilter friend!

Question: HOW PERFECT IS THIS PIN?! Anneliese of Eye Candy Quilts generously provided this enamel pin for me to giveaway! It's adorable and precious and perfect for this crowd! ;)

In the last two newsletters that I sent out to the QAL participants, I asked them to share progress photos using certain hashtags and today I used a random number generator to pick the recipient. Kristen Lee was the winner! Congrats, Kristen!!

Kristen has posted many progress photos, but here's just one beautiful example:

Screen Shot 2017-08-27 at 1.19.30 PM.png

I'm not exaggerating when I say that my favorite thing is seeing the beautiful things that you make with my patterns. It's so awesome! Thank you for sharing photos and inspiring us all!

From Janet MacIntyre:

Screen Shot 2017-08-27 at 1.32.32 PM.png

I get excited every single time Chris Simon shares her work, too! ;) Here's just one of her beauties:

21082798_10212886840383858_4132689307562898089_o.jpg

It's safe to say that I might hyperventilate as these quilt tops begin to emerge. And I welcome that! 

Thank you so much to everyone who has participated in this QAL. It wouldn't have been much fun without you! I am considering hosting another QAL over the winter months (snowflakes?) so make sure to sign up for my newsletter (if you're not already) to hear about any developments. If a busy summer schedule wasn't ideal for you, perhaps a winter QAL would be better?


Hop on over to my closed Facebook group to join the discussion, share pictures, ask questions, get encouragement. We are a community and we'd love to help you out!